Build a Machine Learning Discord Bot: Getting Started with TensorFlow and Discord.py (Part 1)
In this series, we will learn how to fuse the powers of machine learning with Discord.py to create an intelligent Discord Bot. Learn the essentials of bot development and machine learning integration, setting the stage for captivating AI applications that will elevate your server experience.
RZ
8/13/20235 min read
Discord has established itself as the central hub for online communities. It allows people from around the world to interact with each other and create connections. There are multiple servers that have hundreds of thousands of members, and it is often chaotic to moderate everyone and maintain engagement. Whether you manage a small school server, or a large gaming community, Discord bots are here to help! There are bots of all different types that can create a more positive, fun, and engaging environment. In this series, we are going to learn how to leverage machine learning libraries such as Tensorflow to create or enhance exciting features such as image recognition, text generation, gaming systems, moderation, and a lot more.
Setup
Before we can have fun building models and incorporating them in our bots, we first have to go through some setup steps.
Creating a Server
Step 1: Click the Add a Server button at the bottom left.
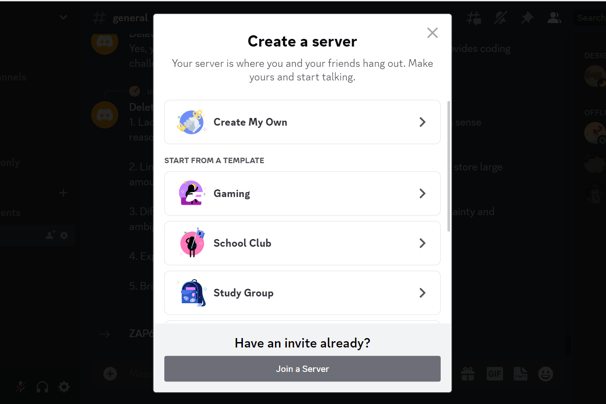
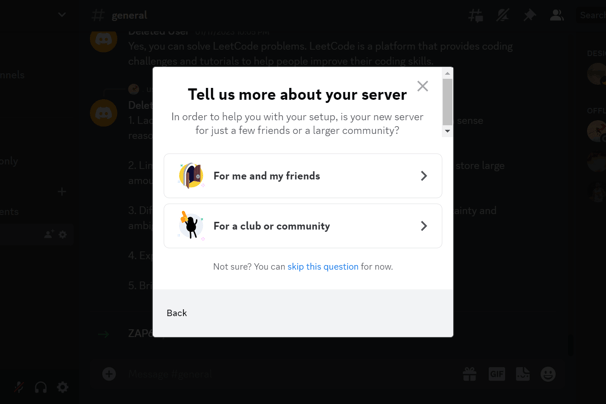
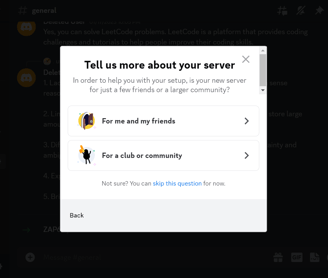
Step 2: Click on Create My Own, and choose one of the options.
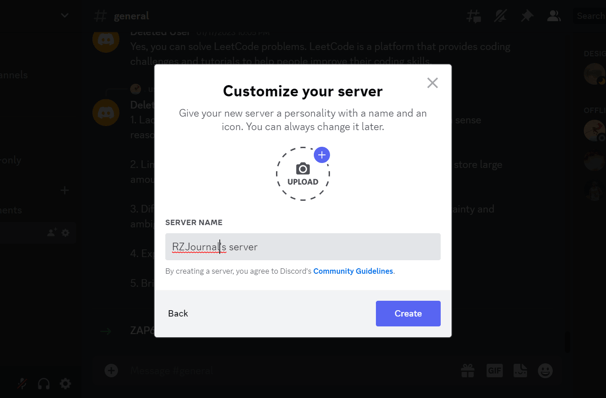
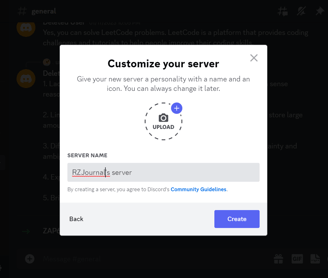
Step 3: Enter name and click create.
Creating a Bot
After this step, you will be halfway from creating your dream custom Discord bot!
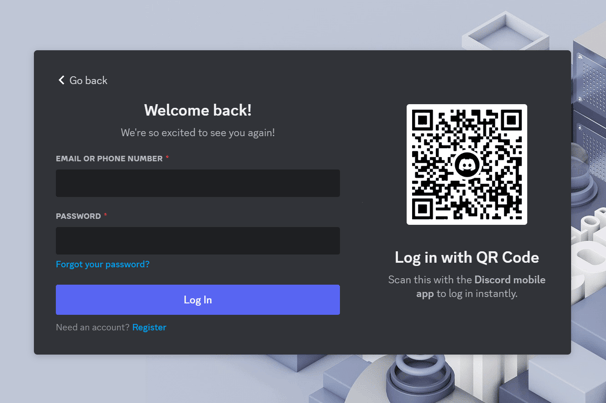
Step 1: Go to https://discord.com/developers/applications, and log in with your Discord account.
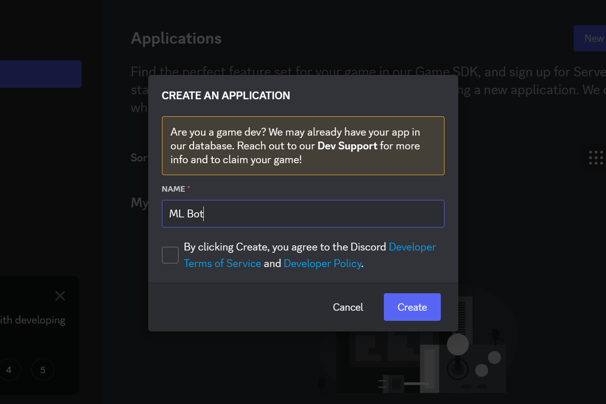
Step 2: Click on New Application on the top right, enter a name, and agree to the Discord Developers Terms and Services and Discord Policy.
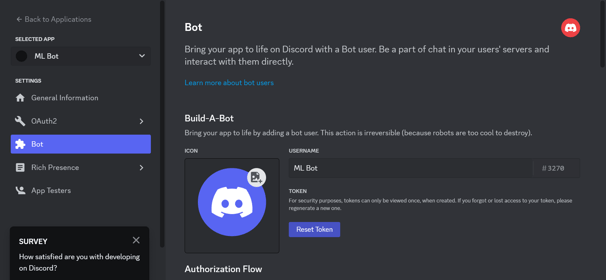
Step 3: Click on Bot in the settings menu. You should find a Reset Token button. Click it and select Copy Token. NEVER ALLOW ANYONE TO ACCESS YOUR TOKEN! Scroll down and allow Presence Intent, Server Members Intent, and Message Content Intent.
Now lets invite our bot to the server.
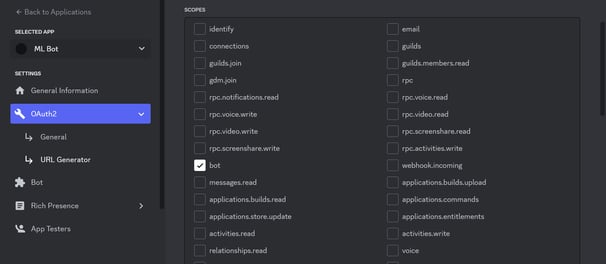
Step 1: Click the OAuth2 button in the settings menu and select URL Generator. In scopes, click on the Bot checkbox.

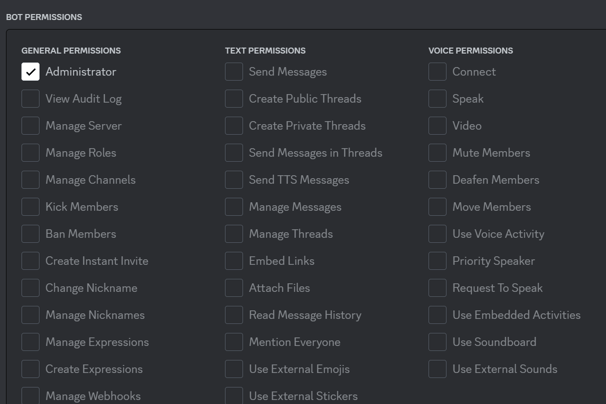
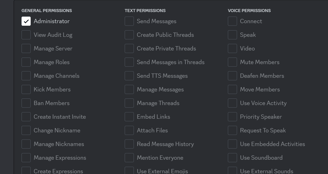
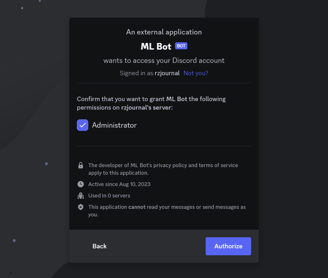
Step 2: Scroll down and click on the Administrator checkbox, which gives the bot all permissions. Generally, stay wary of bots that ask for this permission, but since we're creating our own bot we don't need to worry.

Step 3: Scroll down and copy the Generated URL.
Step 4: Paste it into your web browser. Select the server you want to add your bot to. Click continue.
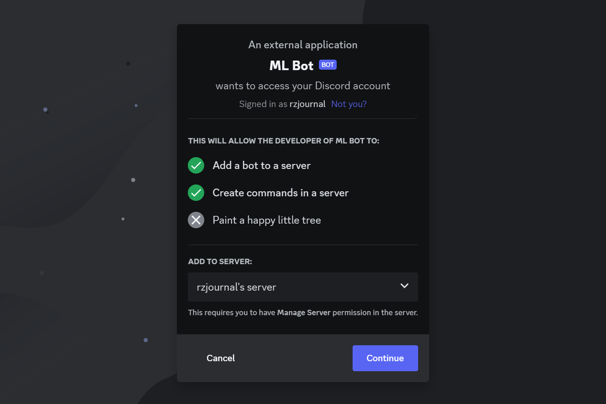
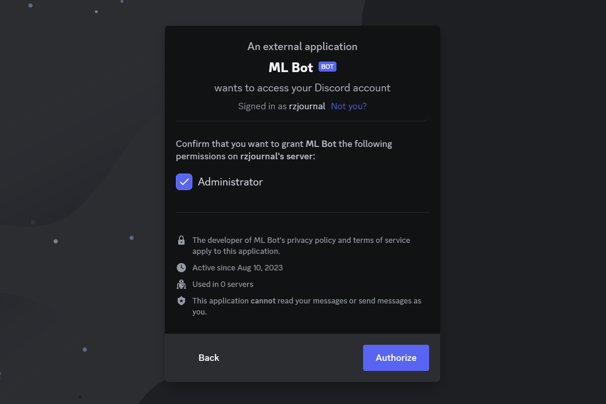
Step 5: Click authorize.
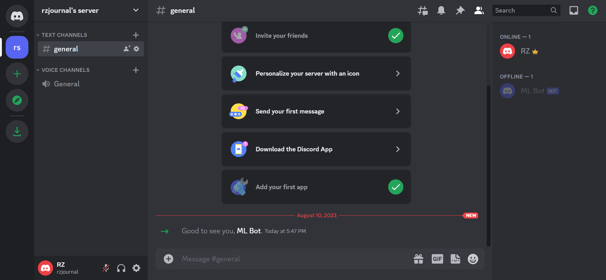
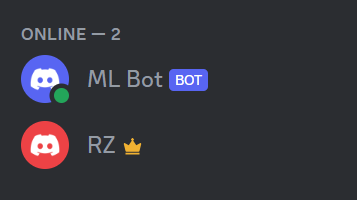
Step 6: Go to your server. You should find the following message.
Lets start coding!
Bot Structure
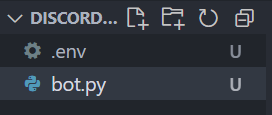
Now that we have finished the setup process, we can start cooking up our bot! First, open up the code editor you will be using and create two files, bot.py and .env. I will be using VSCode.

We will store our token from the Discord Application portal in the .env file.

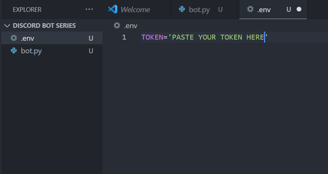
The token serves as the key to authenticate and identify your Discord bot. Its used to establish a secure connection between your bot and Discord servers, allowing it to interact with users. Storing the token in an env file has many benefits, such as more security and ease of configuration. Lets go the the bot.py file now and create this connection.
We will first install the discord.py and dotenv libraries. Os is a standard library and preinstalled.
Lets import these libraries in bot.py.
discord: interactions with the Discord API
os: works with operating system functions
load_dotenv: function from dotenv library that loads environmental variables
commands: import the commands module from the discord.ext package. It provides tools and functionalities that create and handle bot commands
Now lets load our token from the .env file.
The following lines collectively set up the basic structure of your Discord bot, define an event handler for when the bot is ready, and starts the bots execution.
Navigate to your terminal and run the following command
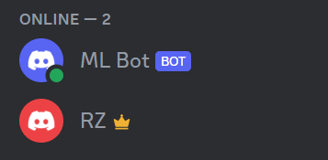
You should find the message "Logged in as {bot name}". Go to you Discord server and check if your bot is online.
First Bot Command
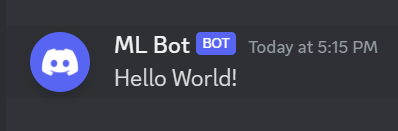
Now that we can communicate with our Discord bot, lets create our first command. The code below will enable the bot to respond with "Hello World!" each time the !hello command is run.
The @bot.command() decorator defines a new bot command. async def hello(ctx): creates a function that takes a special parameter ctx. It stands for "context" and holds information about who sent the command and where it was sent. The line await ctx.send("Hello World") does the magic. It sends a message back to the same channel where the command was given. The await keyword makes sure that everything happens in order, so the bot stays organized.
Run the bot in the terminal with python bot.py, go to your server, and enter "!hello" in any channel. You should see this interaction.


Conclusion
Congratulations! You've taken your first exciting steps into the world of creating and interacting with your own Discord bot. You've learned how to craft text commands that allow your bot to communicate and respond in your Discord server, but this is just the beginning.
In Part 2 of this series, get ready to elevate your bot's capabilities by integrating the power of TensorFlow. Imagine a bot that can do more than just respond – a bot that can learn, predict, and analyze! You'll delve into the basics of TensorFlow and build a simple linear regression machine learning model.
As the series continues we will explore advanced topics like Convolutional Neural Networks (CNNs), a technology that's behind image recognition, and Natural Language Processing (NLP), which enables bots to understand and respond to human language.
Subscribe to my newsletter below for future updates! 🚀
Here is the full code in one place.